Under the Willow

Monday, April 28, 2014

Sparkle Sign

I am excited to show you this light up sign I made, I think it turned out cute and it was fairly inexpensive to make.

Supplies: cutting board, exacto knife, gold poster board, foam core board, twinkle lights, hot glue and glue gun, gold paint, ruler, computer print of word of your choice to trace, pointy stick to punch holes and trace letters.


Figure out how large you want your sign to be, print word accordingly.
Then cut foam core to size.  Measure sides and decided on the depth you want for your box, and cut pieces of foam core to size.  Cut foam core with your exacto knife doing long light strokes, it will take several passes to cut all the way through, but this will make a cleaner cut than just pushing hard and trying to cut it all in one swipe.


Lay out your word of choice on your front piece and trace around the letters with a pointy object, I used a knitting needle.


It will leave the imprint behind.


Cut your gold poster board to the same dimensions as your other side pieces adding the thickness of the foam core to the depth of each piece.  This will make your poster board pieces a little wider than your foam core pieces.  This way you can cover some of your raw edges with the poster board to get a more finished looking result.  I also ended up cutting some small pieces that I bent to place over the corners.


Turns out my green twinkle lights had been attacked by a squirrel in the attic and where not safe to use.  So i decided to use these instead.


I then took my knitting needle and poked holes in my letters, where I could later place lights into the holes, or just let the light shine through.


I then started to fill in the letters with this gold paint pen.


It exploded a bit,


so I moved on to gold paint.


After one coat.


Three coats, and then I started putting on a coat of a gold leaf glaze for some extra shine, and to better match the poster board.  You can see a difference between the S and the rest of the letters.  


I also added some gold dots around the letters to be extra festive.


Next heat up glue gun.


Begin attaching sides and letting dry.  I also added some glue in the inner corners for reinforcement.


Once I have made the foam core box I then hot glued the poster board onto the sides.


Now all that's left is to add the lights.


I put some lights through a few holes but most of the holes are left open to let the light shine through.


I am excited with the outcome!  It was a little time consuming but inexpensive, especially since I used some supplies I just had laying around the house.  It's pretty cute if I do say so myself.

Monday, April 21, 2014

Color Me Rad

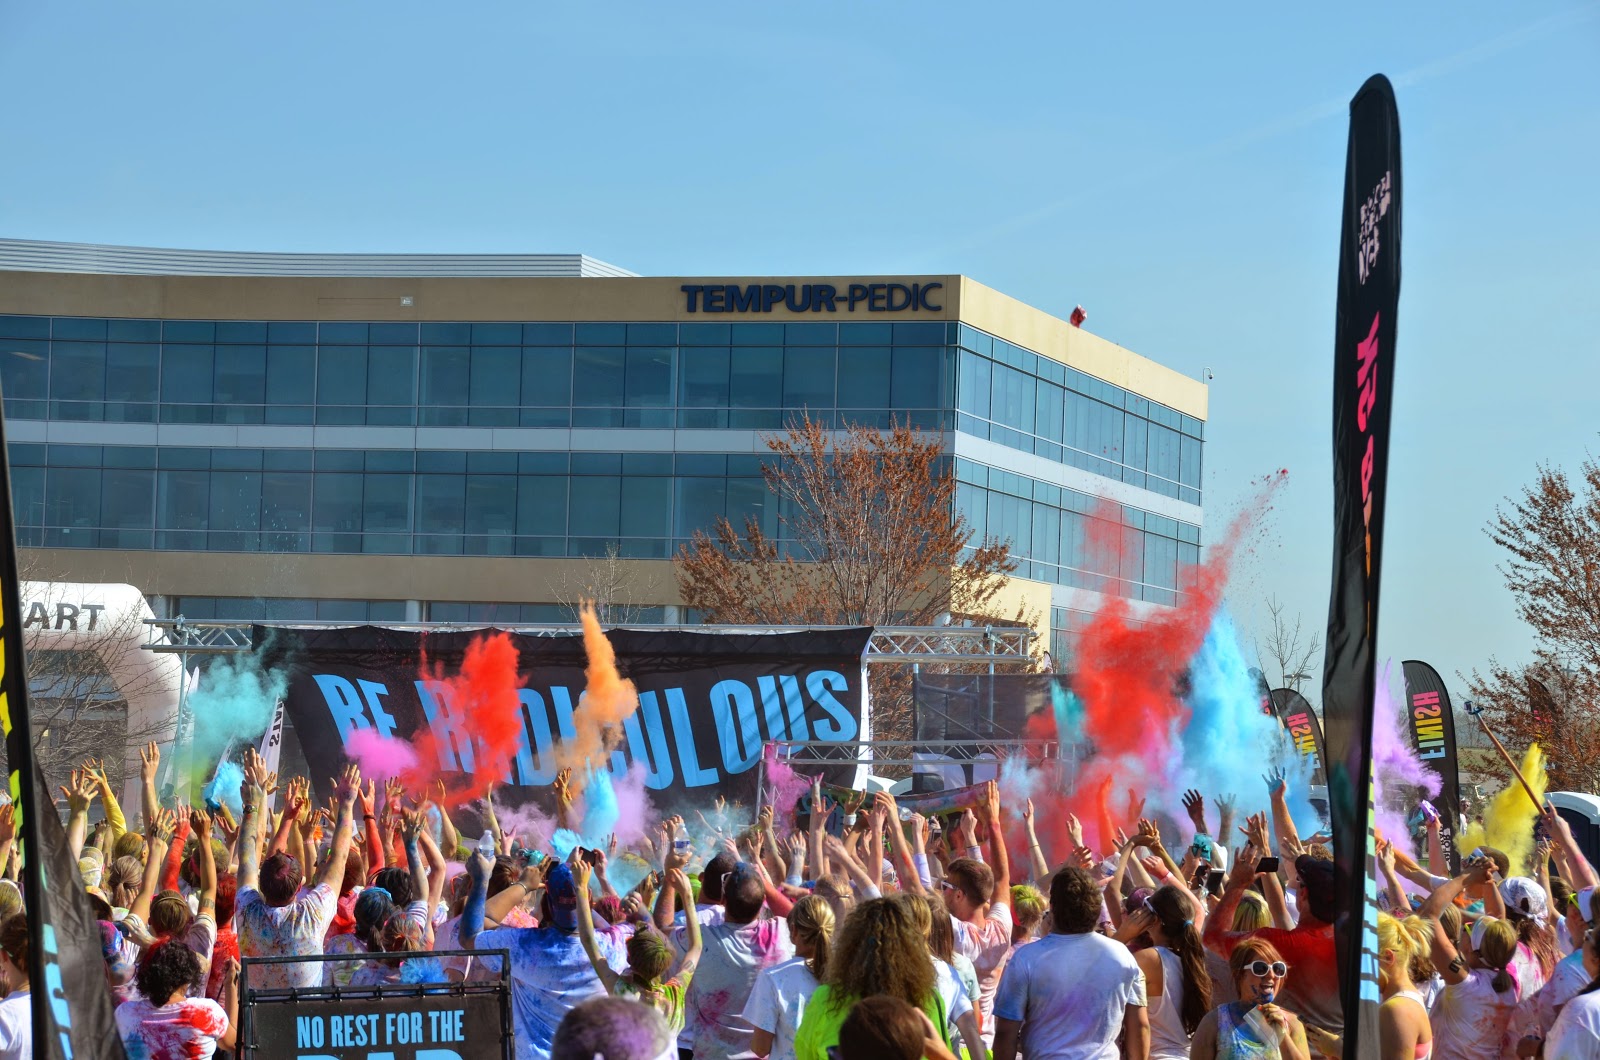
I did Color Me Rad!  The weather was perfect and it was a lot of fun.

Before


After


I was covered in color!


It was really cool to watch all the colored powders be thrown up in the air, so pretty!


Sunday, April 20, 2014

Happy Easter

This is our first Easter with chickens, so I had to do something fun with their eggs.  I didn't want to dye the eggs colors, since they are already varying shades of brown, so when I found this 24k gold kit I was very excited.  It came with 2 packs of gold paint and then 3 colors of dye, red, blue, and green, that you could add to the gold paint or use as regular egg dye.


I hard boiled a bunch of eggs and then separated the darkest ones from the lightest ones, just so I would have a good idea of what I was working with, and I could make sure I got a good range of colors when I was done.


The eggs on the left have been painted gold, the ones on the right have not.


I did use a bit of the red dye with some of the gold paint to get more of a rosy or rose gold look.


I think they are beautiful.
Happy Easter!


Friday, April 18, 2014

Real Terrarium

A while back I made some fake terrariums, but I have wanted to buy some real succulents forever so I finally decided to go for it.

First get some clear glass containers.  Succulents need open containers because they prefer less humidity and drier soil.  If you want a closed terrarium then you need to research what types of plants would thrive in a more humid environment.


Add pebbles or something so there is good drainage.


Then add activated carbon to keep it smelling fresh.   This is probably more important with a closed terrarium but I did it anyway.


I then put in a layer of moss to try to keep the soil from sifting down to the bottom.


Last add soil and succulents.


I'm excited to see if this works!


I couldn't fit all four succulents in the glass containers so I put this one in a flower pot by itself.


Monday, April 14, 2014

Countertop Update

I just cleaned and re-sealed my kitchen counter tops, so I thought I would do any update.  I love them, but they aren't for everyone.  They do stain from food and oil splatters.  I think over time it will look distressed, but it's obvious right now that there are spots and the counters aren't uniform. I have chipped a bit of concrete in a spot or two but it is easy to sand the spot, mix up a little concrete and smooth over the spot. Just sand a bit to smooth and seal the area.  You need to add another coat of sealer every so often for maintenance, and that is also easy to do with the sealer I have chosen.


So clean and shiny.


Now that it's spring we are starting to work on our yard and raised garden beds.  I have planted a few things outside and my husband has started some seeds, pictured below.


I just love tulips, and I am so excited about how everything is starting to bloom!


Tuesday, April 8, 2014

Savannah Vacation

Meghan Madness went by in a flash, and I really didn't do anything.  I was too busy with life and getting ready to travel to Savannah, GA.  A few weeks ago I got to travel to Savannah for the first time.  I went for a wedding so it was a really quick trip but I did manage to do a little sight-seeing.  I walked around the hotel some and down on the river walk.


The I got to eat at the Olde Pink House.  Beautiful and delicious.


Here I am before trying a raw oyster, it was actually pretty good.


I got to take a quick trolley tour.


And this is The Ford Plantation where the wedding took place.  Gorgeous!


Then a last few pictures before leaving to go home.


And here I am back home on my thirty first birthday.  I really didn't do anything but sleep and catch up on laundry, which was much needed after the crazy weekend.


I may have mentioned before that this was my golden birthday, 31 on the 31st, and I had some ideas for golden crafts and things but never got around to any of it.  So I have decided this will just have to be my golden year!